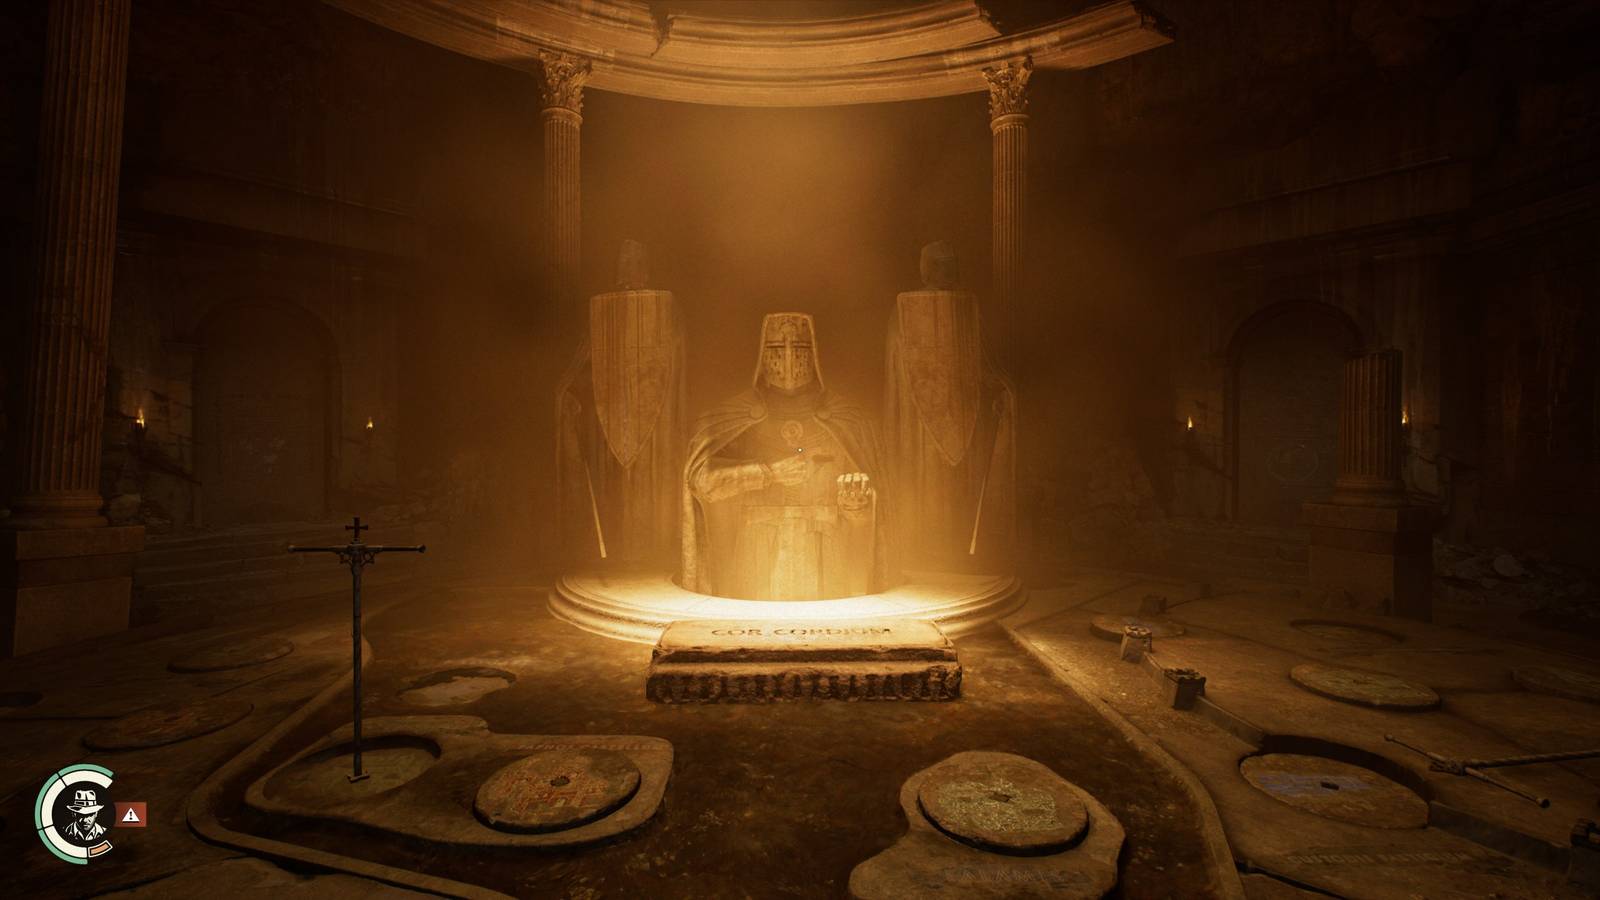
As Indiana Jones makes his way into the Tomb of Gibborim within Indiana Jones and the Great Circle: The Order of Giants, he will be faced with a rather confusing puzzle involving scepters, spinning dials, and plenty of directions for them to land on. Fear not, as Indiana Jones and players alike can look below to discover the solution to each piece of the puzzle so that they can proceed on with their great adventure in Rome.
Tomb of Gibborim Complete Puzzle Guide
The Tomb of Gibborim requires players to collect scepters and use them to rotate dials into a specific spot. Considering there are 4 scepters, we’ve split this puzzle up into four parts so players know how to get the staff and where to rotate each dial to complete the puzzle.
Crusader Cross Puzzle Solution
The first part of the puzzle requires players to collect the Crusader Cross scepter from the left side of the room, and place it in the hole by the Crusader Cross wall on the back left. Doing so will see Indy take a photo of the revealed mural, with the hints being the ship at Halygast watches the morning light, and kneeling west at Aethopolis. With these hints, head to the stone dials on the top left of the puzzle floor, and use the scepter to rotate these pieces:
- Halygast – rotate until the cross is facing the right
- Aethopolis – rotate until the cross is facing the left
Shield Puzzle Solution

With the Crusader Cross puzzle solved, the locked gate on the left side of the room will lift. Inside, players can find a lever, and once pulled, fire will begin to emerge from the floor. Players need to stay ahead of the fire and rotate the 3 stone knight shields without being burned to death. Upon doing so, they are rewarded with the Shield scepter, which can be placed at the Shield wall at the top left of the room. This Shield mural reveals 2 hints – Kakhla was sent fleeing to nearby ruins, and the Castle of Horus needed eastern aid. With these hints, players will need to use the scepter to rotate the dials into specific spots:
- Nakhla Pagus – rotate until the shield is facing the bottom
- Hori Castrum – rotate until the shield is facing the right
Sword Puzzle Solution

With the Shield Puzzle solved, the door on the right opens, and reveals the Sword scepter on the floor inside. Players can take this to the back right wall to reveal a new mural with the following hints: Camp Al-Mansur watched a ship drift by, the ruins south were attacked from the east, and at the battlefield, the Crusader faced himself. With these hints, players will want to use the Sword scepter on the following dials:
- Al-Mansur Castra – rotate until the sword is facing the left
- Rudera – rotate until the sword is facing the right
- Pugna – rotate until the sword is facing up
Trinity Puzzle Solution

The final puzzle requires players to head back to the room on the right, where they will need to pull the lever to reveal immense fire. Face the fire, and interact with the holes on the walls in the following order: Keys to the Vatican, shield’s cross, apple, last serpent. Doing so in this order will provide the Trinity scepter, which can be used to unveil the mural on the top right of the central room with the following hints: At Castle Malum, the Nameless Crusader and Marie gazed upon the citadel, the Crusader ran towards the fierce inferno at the Castle, and he sought God’s salvation to the north. With these hints, use the Trinity scepter on the following spots:
- Sancti Luciani Ecclesia – rotate until the trinity is facing the bottom
- Malum – rotate until the trinity is facing up
- Custodis Fastigium – rotate until the trinity is facing the right