
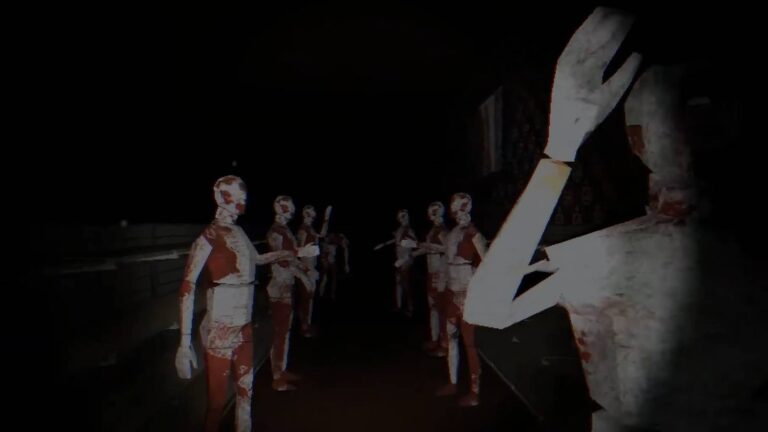
Prologue: Go Wayback isn’t your run-of-the-mill survival game, as it features extremely harsh weather elements and a unique twist on the classic survival gameplay loop. Before you get started with your journey in one of the game’s randomly-generated maps, you’ll want to ensure you’re using the optimal settings on PC.
The video settings especially need to be tuned, as Prologue: Go Wayback’s performance can be slightly dodgy unless you have a top-of-the-line machine. However, even the audio settings and controls can be tinkered with depending on your personal preferences. To see our recommendation for every setting in Prologue: Go Wayback, check out the guide below.
Best Settings in Prologue: Go Wayback
There are three main settings menus in Prologue: Go Wayback: Video, Sound, and Controls. We’ll list every possible setting in each of these menus and offer what we recommend you set each one to. However, some of the settings will depend on your preferences and your setup, so keep that in mind.
You can see each of the three settings menus below.
Video Settings
- Resolution: 1920×1080 or the highest resolution of your monitor
- Fullscreen: Borderless
- View Distance: High
- Anti-Aliasing: Medium
- Post Processing: Medium
- Shadows: Low
- Global Illumination: Low
- Reflections: Low
- Textures: High
- Effects: High
- Foliage: High
- Shading: Medium
- Motion Blur: No
- Upscaler: DLSS (if using an Nvidia GPU)
- Frame Generation: DLSS (if you have an applicable Nvidia GPU)
- Sharpener: None
- Upscaler Quality: High
- Sharpener Quality: Low
- Gamma: 2.2
Naturally, the video settings you use will entirely depend on what kind of frames per second you’re getting in Go Wayback. If you’re someone with a modern PC and seeing an FPS over 100, then you use the settings above to increase performance while also keeping solid visuals in place. However, players who aren’t getting above 60 FPS will want to tone down some or all of the settings to their lowest values to achieve a higher FPS.
Sound Settings

- Master Volume: 100%
- Game Volume: 100%
- Mute Audio: No
The sounds in Go Wayback are great and allow you to immerse yourself in the experience even more, so we’re choosing to keep the audio at its maximum levels. Of course, these settings are mostly personal preference, so you can change them to match whatever you want.
Controls Settings

- Crouch: C or Left Ctrl
- Jump: Space Bar
- Move Backward: S
- Move Forward: W
- Move Left: A
- Move Right: D
- Run: Left Shift
- Walk: Left Alt
- Help: H
- Pause: P or Escape
- Interact with equipped item (secondary): Right Mouse Button
- Carry Item Under Arm: F
- Quick Equip 1: 1
- Quick Equip 2: 2
- Quick Equip 3: 3
- Quick Equip 4: 4
- Quick Equip Map: M
- Holster Equipped Item: 5
- Inspect: Q
- Interact With Equipped Item: Left Mouse Button
- Open Inventory: Tab
- Interrupt Item Placement: Right Mouse Button
- Place Item (hold and release): R
- Walkman Fast Forward: Combo Key and Right Mouse Button
- Walkman Rewind: Right Mouse Button
- Walman Change Volume: Mouse Wheel
- Cancel Build Action: Right Mouse Button
- Camera Sensitivity: 30%
- Camera FOV: 120
We made a few changes to the default keybinds, but nothing too drastic. If you just wanted to hop straight into Go Wayback with the default binds, you won’t find that any are too unintuitive. Once again, though, if you have a set of keybinds that you feel more comfortable with, opt for those.
At the bottom of the Controls settings menu, you’ll see two options for Camera Sensitivity and Camera FOV. We moved our sensitivity down slightly from the default setting and increased the FOV to 120 for a more immersive view. However, depending on your mouse DPI or your preferences with field of view, you might want to further adjust both of those settings.


