Borderlands 4 players who venture back to the Outbounders HQ of the Launchpad in the Fadefields will discover The Kairos Job, a Side Mission that involves a big take just waiting for the right crew. Assemble Shim’s crew and uncover the puzzles involved to crack the safe and get the rewards available, but things aren’t always going to be a cakewalk. Involved in this guide, players can find a step-by-step guide to The Kairos Job to ensure they recruit the crew, complete the safe-cracking puzzles, and get out without a hitch.
How to Recruit Kilo in The Kairos Job
How to Solve the Safe Cracking Puzzle #1
Players will need to talk to Shim at the Faction Town in the Fadefields, who will provide two additional side missions, starting with Scoundrel Roundup: Kilo. For this mission, just head south of the Launchpad in the Howl to find Kilo, the safe-cracker of the crew. Kilo requires players to show off their quick reactions by opening the safe found here. The safe featured a lever, a switch, a button to press/smack, and a target to shoot. When you’re ready to start the puzzle, melee the button. Kilo will then list the following instructions, and players have around 5 seconds to complete each one. Here’s the order for the first safe in the quest:
- Flip the switch (left)
- Shoot the panel (up)
- Pull the lever (right)
- Shoot the panel (up)
- Flip the switch (left)
- Melee the button (down)
- Pull the lever (right)
- Melee the button (down)
- Flip the switch (left)
After completing the puzzle sequence, Kilo will join up with Shim, so now all that’s left is to recruit Glitch.
How to Recruit Glitch in The Kairos Job
How to Turn Off the Power Relays
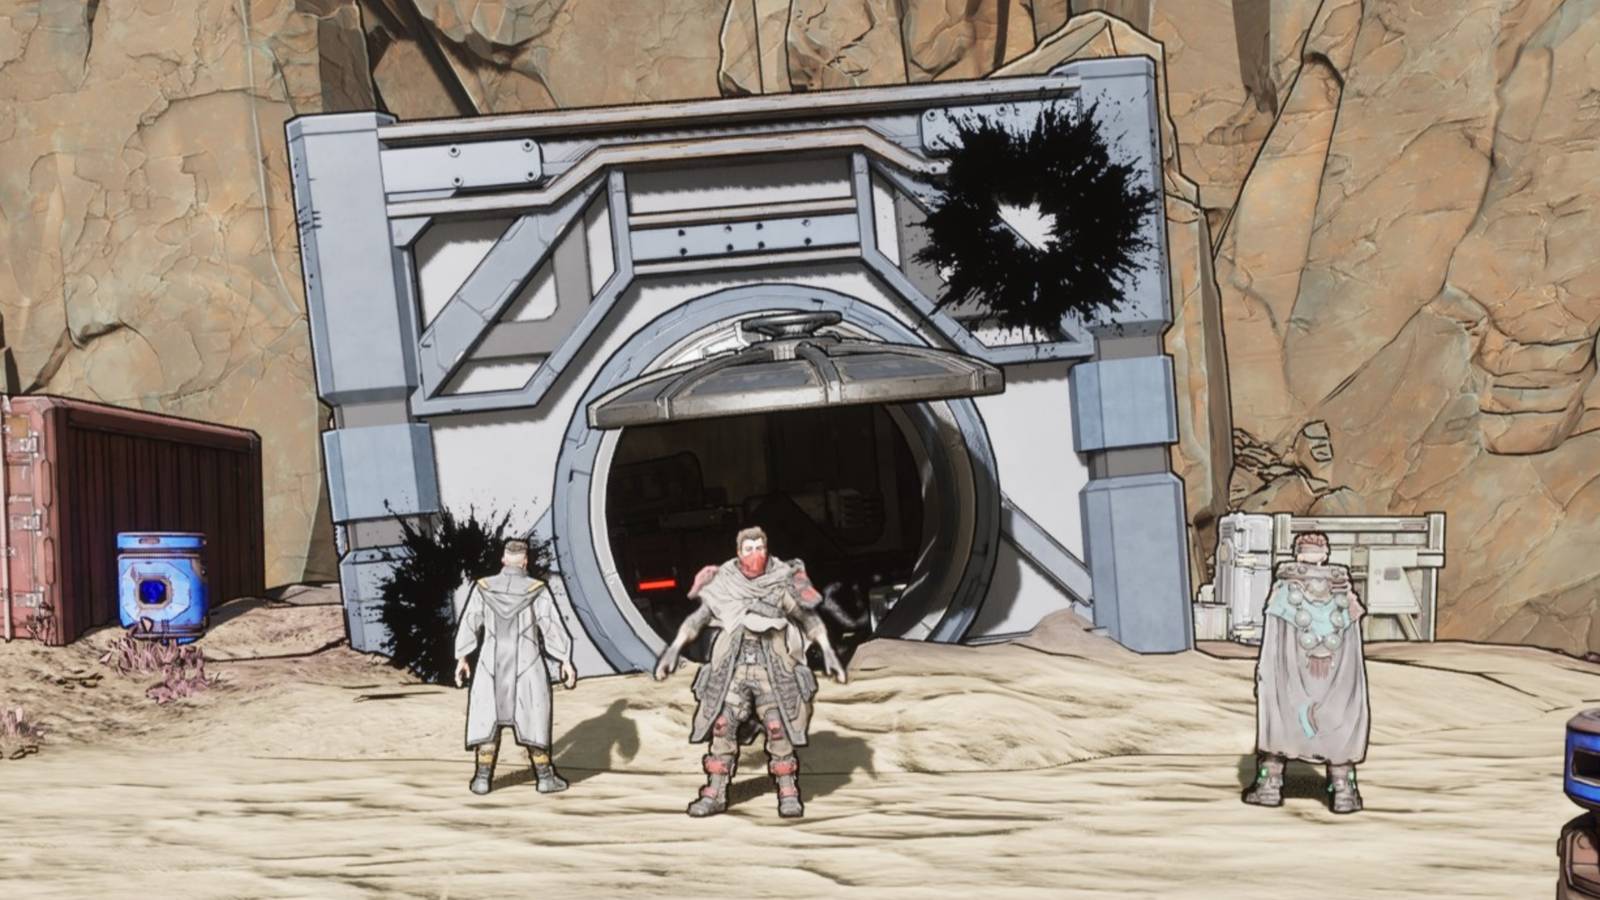
This objective can be completed by taking on the Scoundrel Roundup: Glitch quest from Shim back at the Outbounder’s HQ. Continue south from where you recruited Kilo to reach the same hideout of Zadra, the main mission you would’ve completed previously in A Lot to Process. Glitch tasks players with navigating through a house filled with laser traps, while pulling 3 levers without entering the lasers. The video below showcases the correct path:
Now that all 3 power relays have been placed, you can return to Glitch to recruit him. Now, head back to Shim in The Kairos Job to begin the next step, which has the crew go over the plan and rendezvous in a new area.
How to Get on the Warehouse Roof and Place Electro Charges on Arrays
Once players arrive at The Debilitory in Hungering Plain, they can take the stairs up the house to meet the crew. Glitch will then give players Electro Charges to take, and once that’s done, it’s time to actually get to the roof. The roof is accessed by heading east, then looping left up the cliff to boost off the cliff with a vehicle. Now, players need to find the 4 arrays to place the Electro Charges, and we’ve detailed both of these events in the video below:
Players can also jump on the roof where they met the crew and glide over to the facility with their jetpack, unlocking unique dialogue from Shim, but not much else.
How to Solve the Safe Cracking Puzzle #2
Now that the Electro Charges have been placed and the Order forces have been defeated, it’s time to return to the west wall to start the next safe-cracking puzzle. For this one, simply smack the button with melee and follow the pattern listed below:
- Pull the lever (left)
- Flip the switch (right)
- Pull the lever (left)
- Shoot the target (up)
- Melee the button (down)
- Shoot the target (up)
- Melee the button (down)
- Pull the lever (left)
- Melee the button (down)
- Flip the switch (right)
- Pull the lever (left)
- Shoot the target (up)
- Flip the switch (right)
After completing the safe, players will need to kill more Order troops, and then shoot the explosives that are on the floor that the crew placed in order to get inside the facility.
How to Turn Off Power Relays to Avoid Triggering the Lasers
Now that players have broken into the facility, they will want to proceed through the mission to turn off the power relays, but without tripping the lasers. If players do trip a laser, they will spawn a few enemies, and they won’t be able to get the extra chest. Above is a video detailing the route to take to avoid the lasers and reach each of the 3 power relays. Here’s where to go in text form:
- Take the grapple point at the north wall and jump through the left, then the right, then the left again, and then finally the right. Use the jetpack to gain just enough height without hitting the laser, and then pull the lever.
- Venture to the east side of the room and enter underneath the lasers with a crouch, then jump over the next two lasers to find and pull the lever.
- Venture to the south wall to find a broken laser panel downstairs that allows you to walk through. Jump over the lasers on the floor, or use the jetpack to glide over them to pull the final lever, which deactivates the lasers.
- At the north wall, there’s a chest that players can now open. If players failed this step, the chest will forever be hidden, but it’s only a common chest that drops Greens and Blues, so it’s nothing special.
How to Find the Right Spot to Cut and Open the Safe
The next step involves inspecting the large safe and figuring out how to open it. Players will need to melee the safe in a specific spot to allow Kilo to figure out how to cut it open. The right spot to cut is on the safe’s left side. After, Order troops will flood the area, so it’s time to kill them. Players will need to kill the Badass Attestor (Watcher) enemies that spawn, as they will drop Drone Rockets. Once players pick up 3 Drone Rockets, head back to the safe and place them on each side. Now, it’s just about finding where the safe landed.
How to Find the Safe and Open it for Good
Players can exit the facility after defeating the Order forces, either through fast travel or by using the stairs in the same room they jumped down from the exploded roof. Now that players are out, travel north through Carcadia Burn to reach Smackwater in Lopside. This is where the safe has landed, so players are going to have to kill the Order forces here. Once they have all been dealt with, approach the safe to open it, and prepare to be vastly underwhelmed by the reward, unless you care greatly for hair products.

- Released
-
September 12, 2025
- ESRB
-
Rating Pending